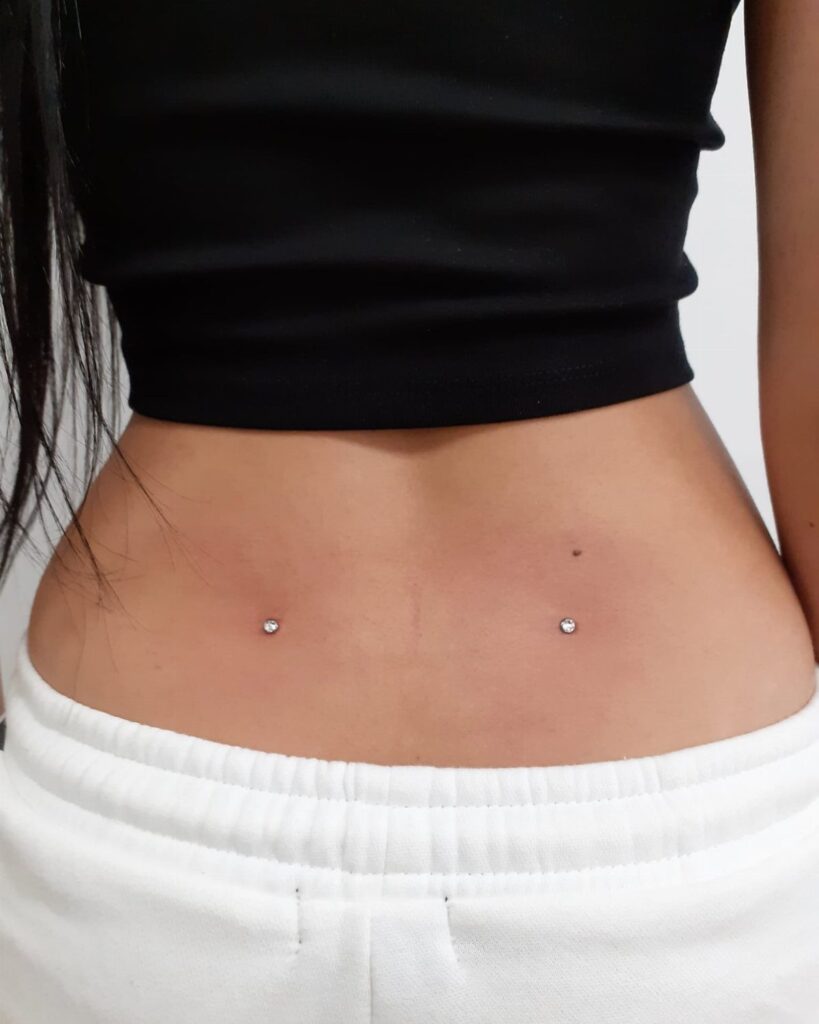
Dermal anchors sit under the skin and the top just screws on, so what you choose to wear on your lower back is mostly a jewelry decision that can change later.
The ideas here run from a single back dimple piercing to 4 dermals, a tattoo-matched set, star and heart tops, and sparkling crystals.
Your plan for the number of anchors decides which idea fits: a pair suits two dimples, while the four-dermal set needs careful spacing and a longer healing stretch, since each anchor is its own piercing.
1. Back Dimple Piercing
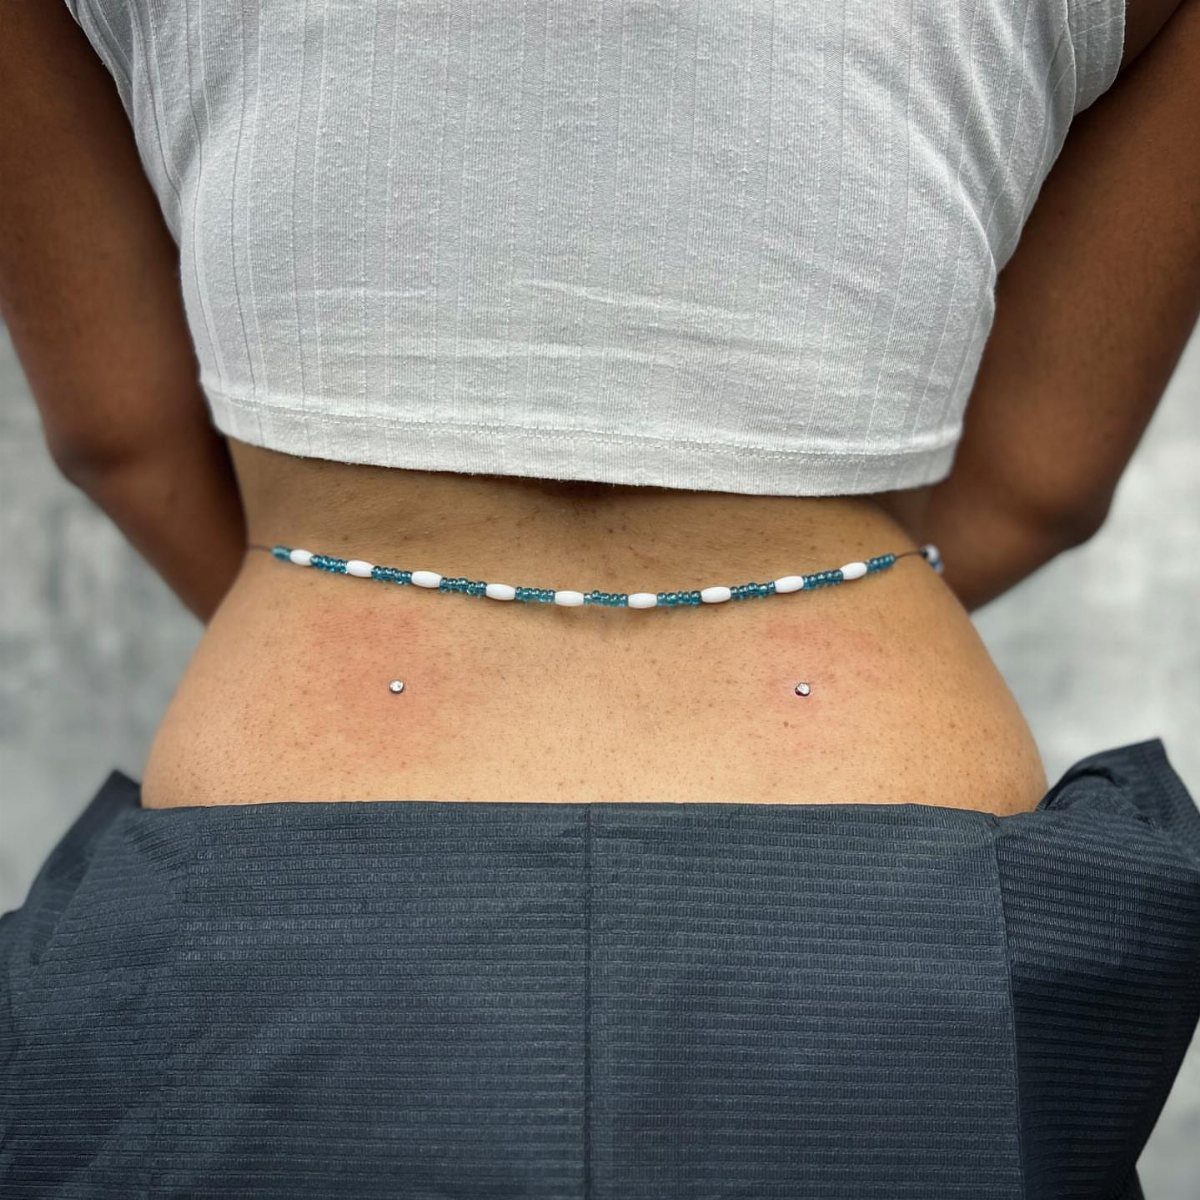
2 silver tops sitting in the lower back dimples are about as minimal as this piercing gets, and that restraint is why I like it.
Plain metal stays quiet against a waist chain, a crop top or low-rise pants, so the dimples do the talking.
Because the pair is symmetrical, placement matters more than the jewelry.
Ask your piercer to mark both dimples and check the marks in a mirror before any needle comes out. A few millimeters of drift shows immediately.
If you want a first back dimple piercing, start with plain silver tops. You can swap in fancier ones later.
2. Four Back Dimple Dermals
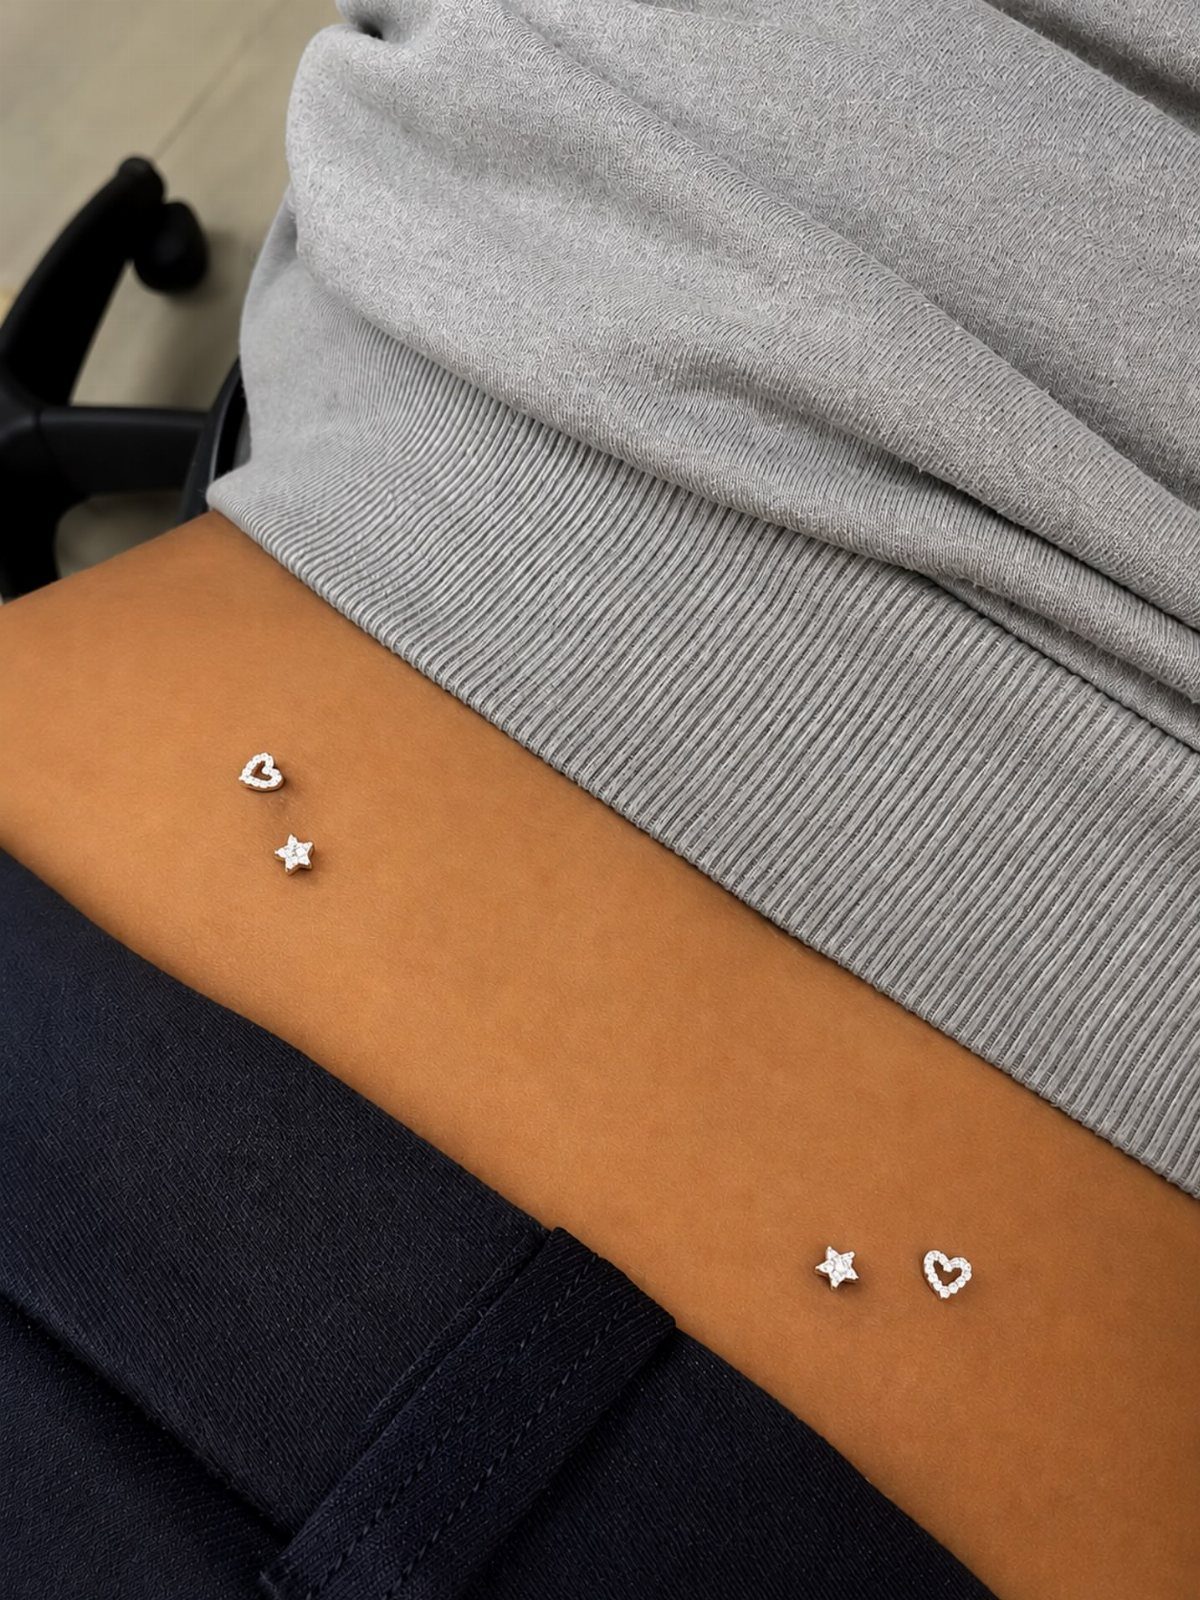
4 dermals across the lower back is a bigger commitment than a pair, and it costs more because each anchor is its own piercing.
Placement is the hard part. Two anchors sit in the dimples, and the other two need spacing that looks deliberate rather than crowded.
I would start with two and add the second pair once the first heals. Several fresh wounds at once mean more to clean and protect.
3. Back Dimple Dermals with Tattoo
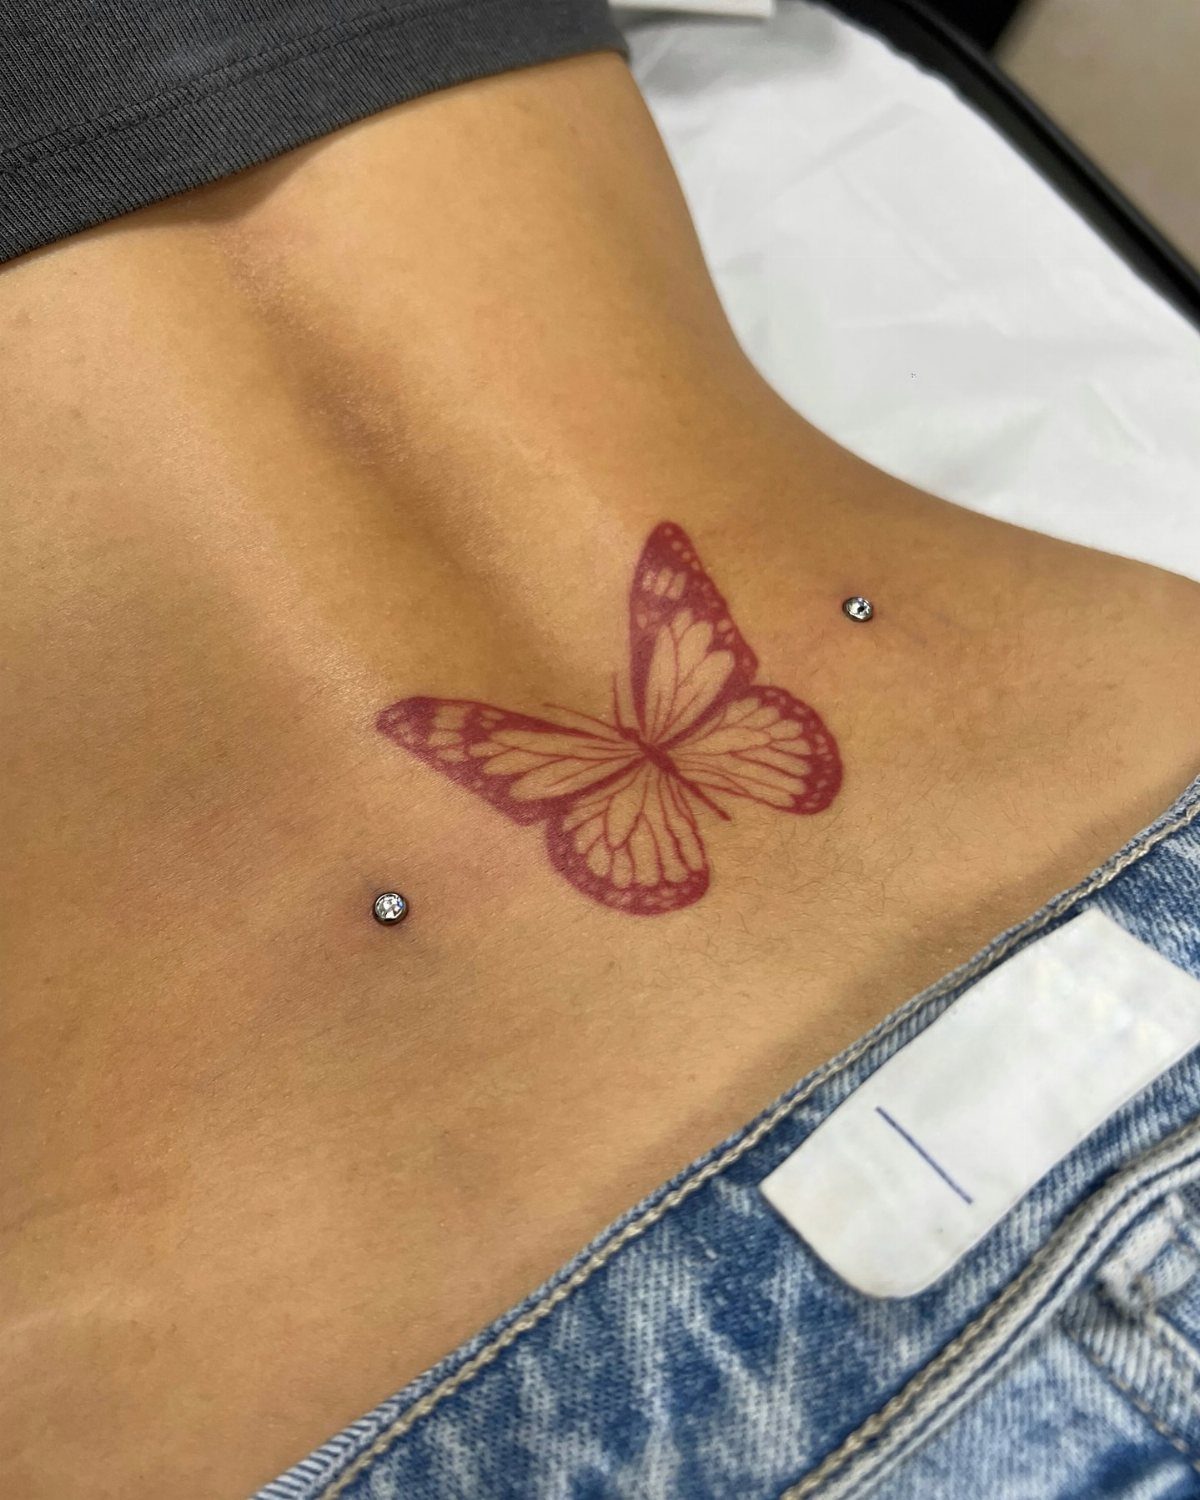
A red butterfly tattoo with 2 sparkling dermals in the dimples below it works because the jewelry plays off the ink instead of competing with it. The color comes from the tattoo, and the sparkle stays small.
Order matters if you are doing both.
Get the tattoo first and healed, then have the piercer mark the dermals around it so no anchor lands in the linework. I would tell your tattoo artist about the piercing plans before the design is finalized.
Clear or light stones keep the red butterfly the focus. Colored stones near red ink can get busy fast.
4. Star Back Dimple Dermals
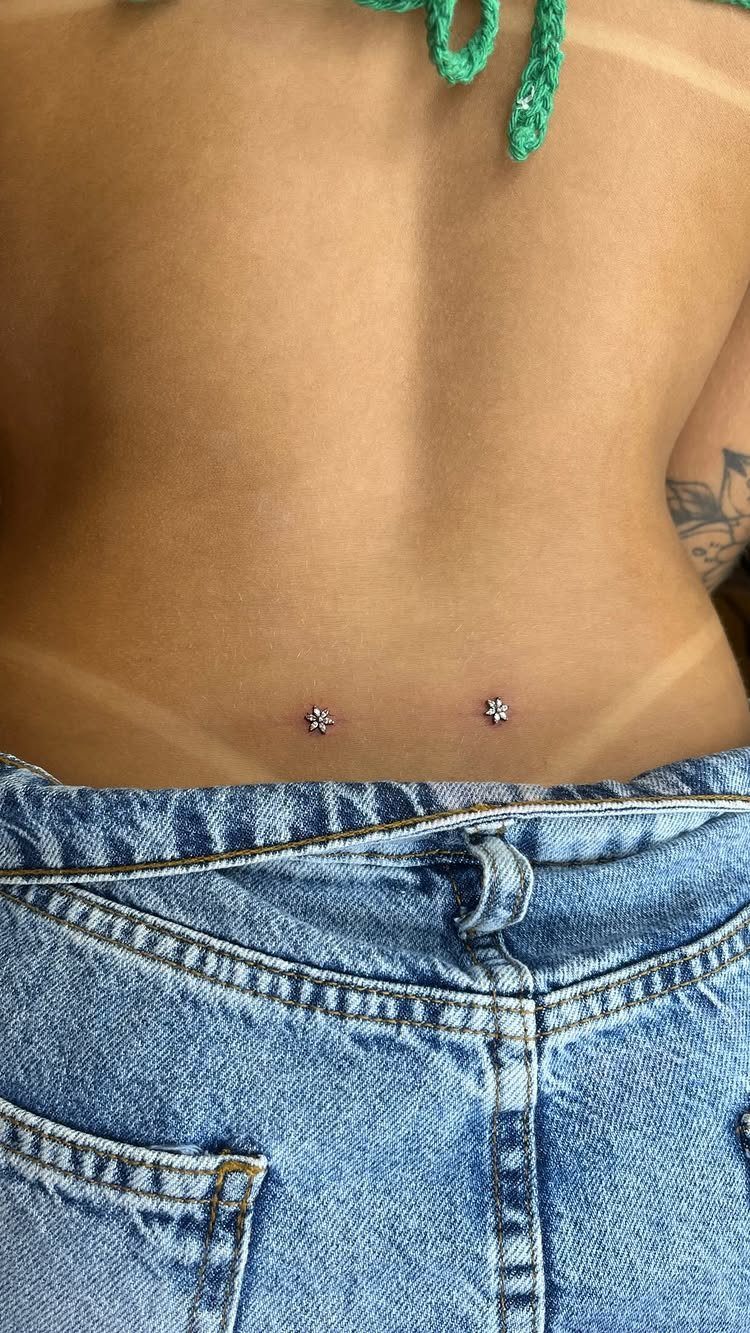
Silver star tops sit well inside a dimple because the points follow the curve of the hollow rather than fighting it. This is a small, graphic choice that still reads from a few feet away.
Dermal anchors hold the base under the skin, and the top simply screws on.
That means you can start with a simple top and change the shape later, though a piercer should do the first swap, not you on a fresh piercing.
Keep both stars matched in size and finish. With stars, any mismatch is obvious, and silver is the better pick over a colored coating that might wear.
5. Healing Back Dimple Dermals
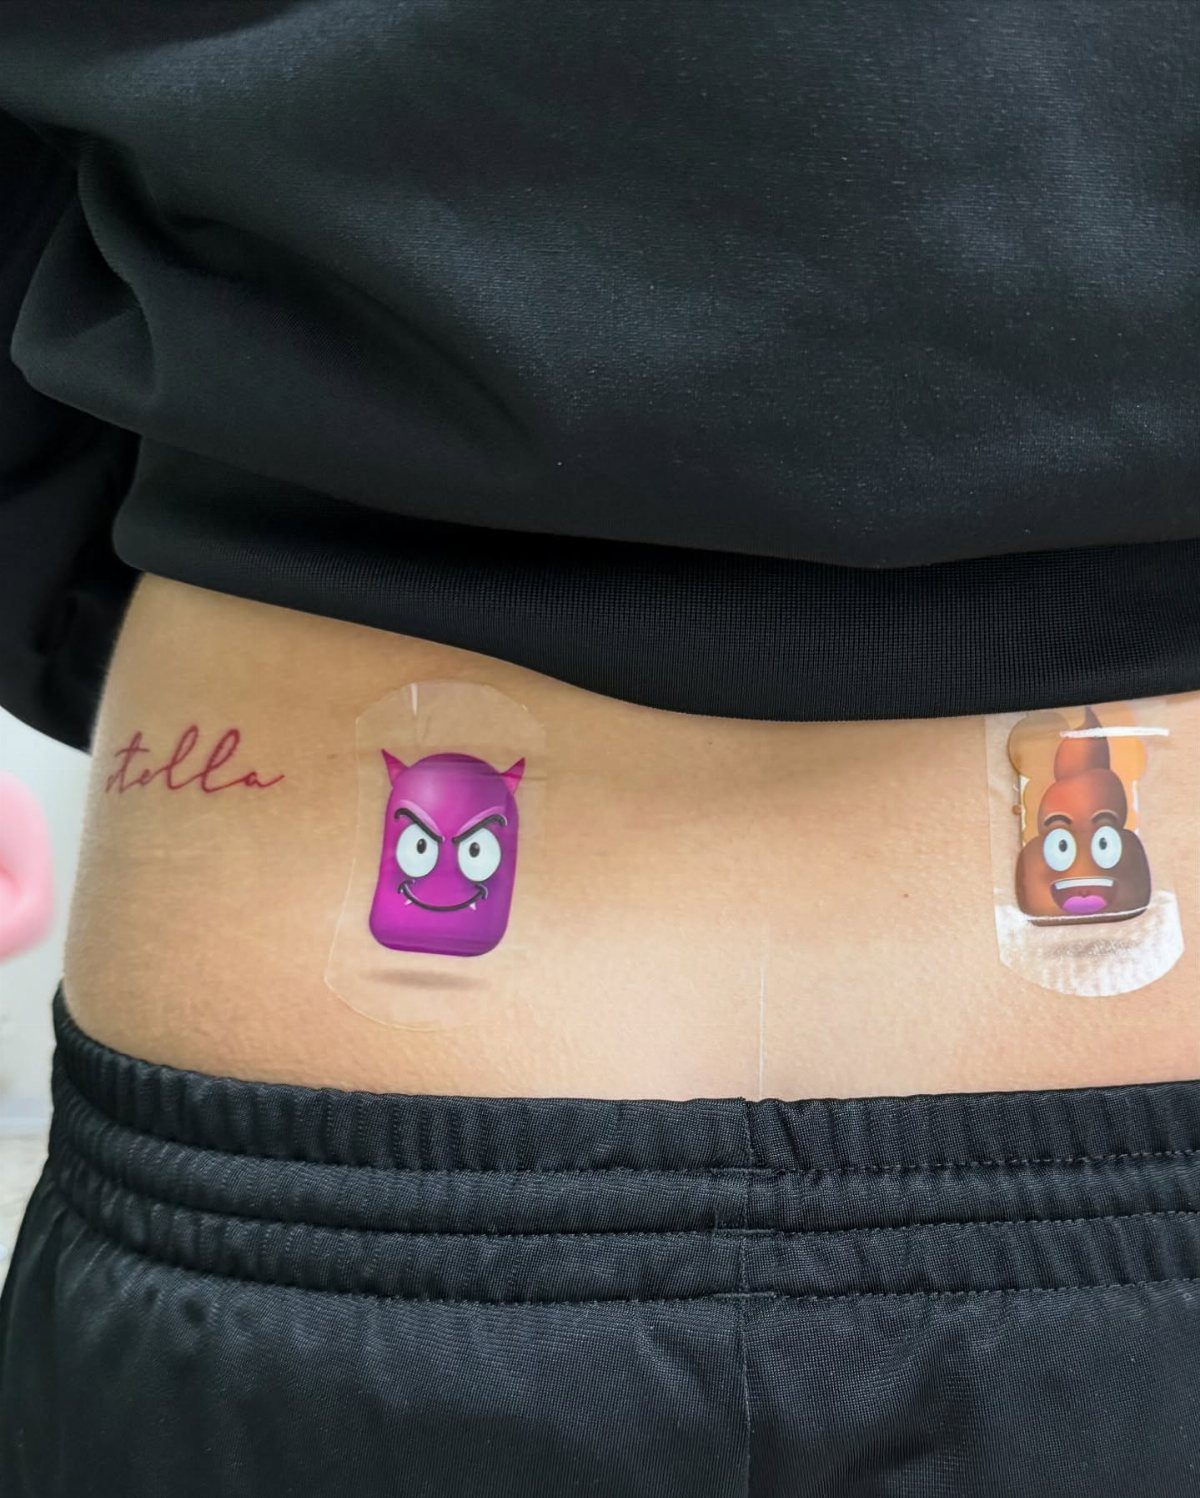
A fresh pair of back dimple dermals needs protection more than style, and small bandages over each one do the job. Cartoon prints like these make the healing stage a little less dull.
The lower back is awkward territory: waistbands, belts and bedsheets all rub it.
A covering helps keep clothing from catching on the new jewelry, so wear loose, soft clothes while the piercings settle. Follow your piercer’s aftercare instructions for cleaning, since they know the jewelry they placed.
Healing takes patience, so skip tight jeans and rough tops until the area calms down. A snagged anchor is a setback you can avoid.
6. Heart Back Dimple Dermals
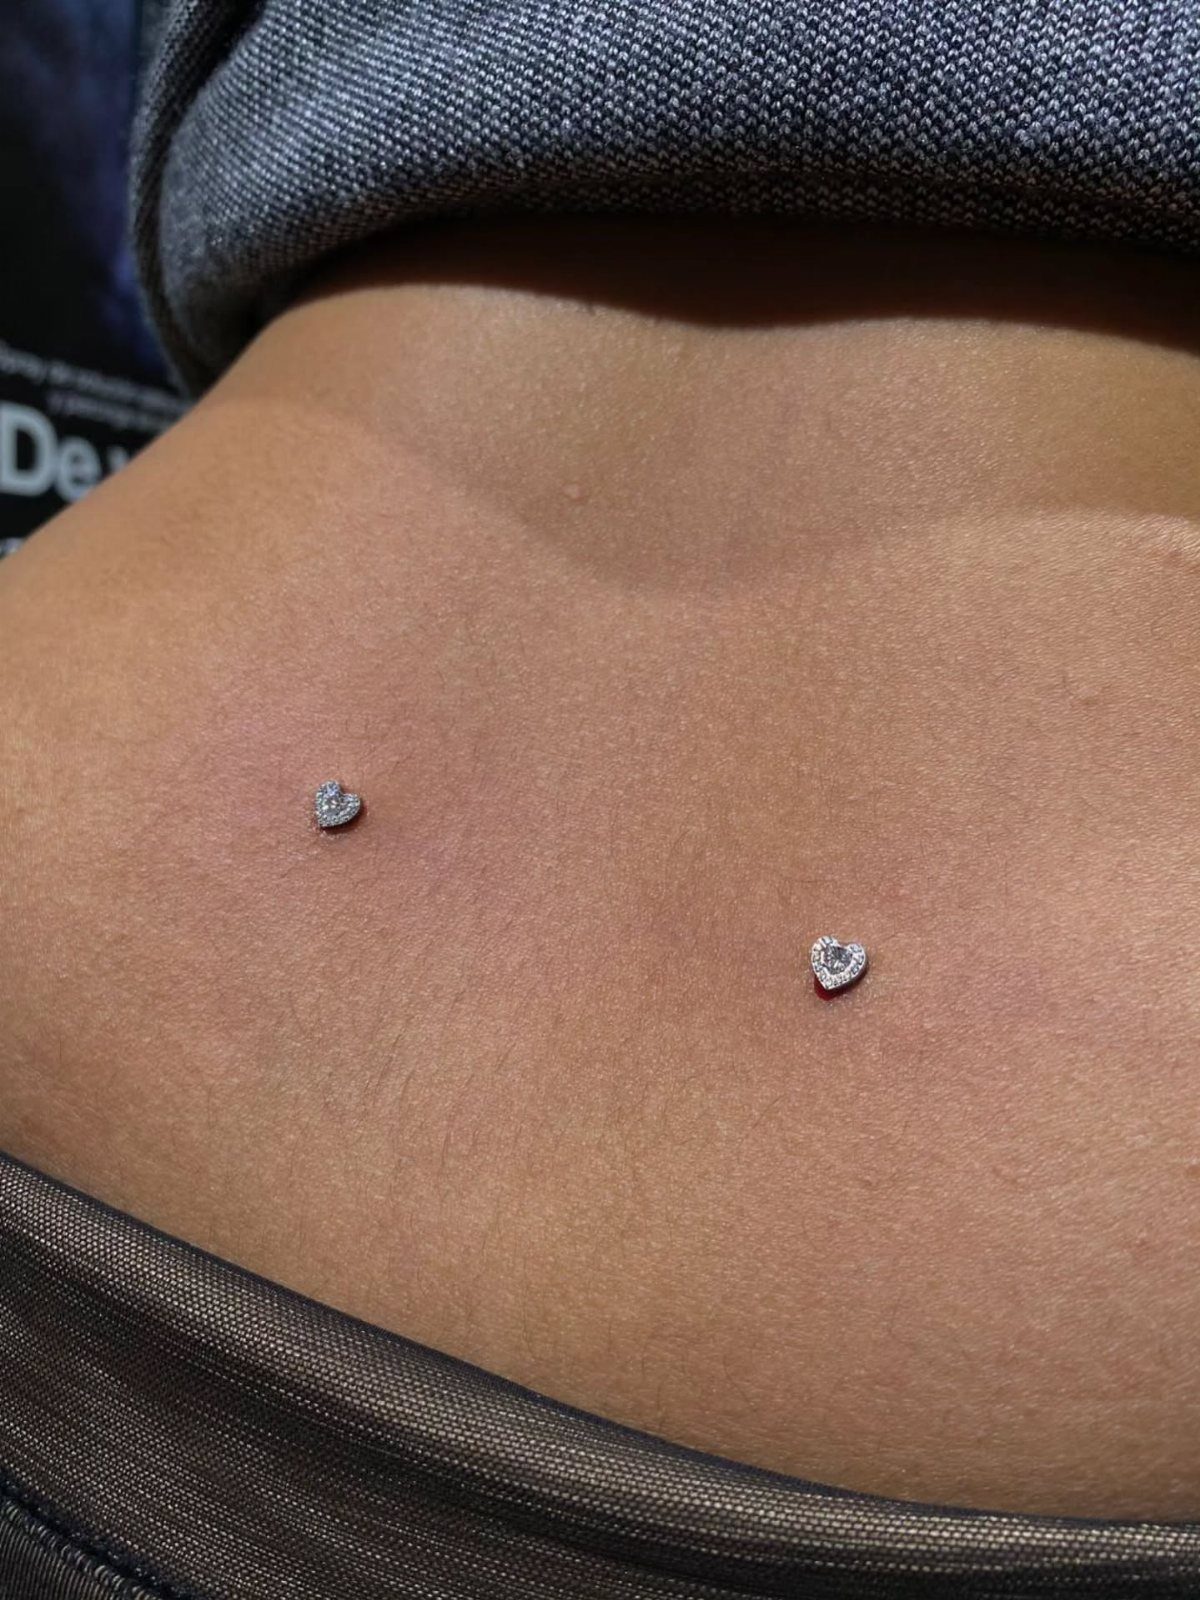
Heart tops turn the dimples into a matched pair of small symbols, softer than stars and easier to wear with almost anything. Against blue jeans and a dark top, they stay clearly visible without shouting.
Choose hearts with a smooth, even outline. A lopsided heart looks crooked once it sits flat on the skin, and with two side by side the flaw doubles.
Because the top is separate from the anchor, a heart can be a starting point. If you tire of it, a plain or star top can replace it later, and the piercing stays put.
7. Sparkling Crystal Dimple Dermals
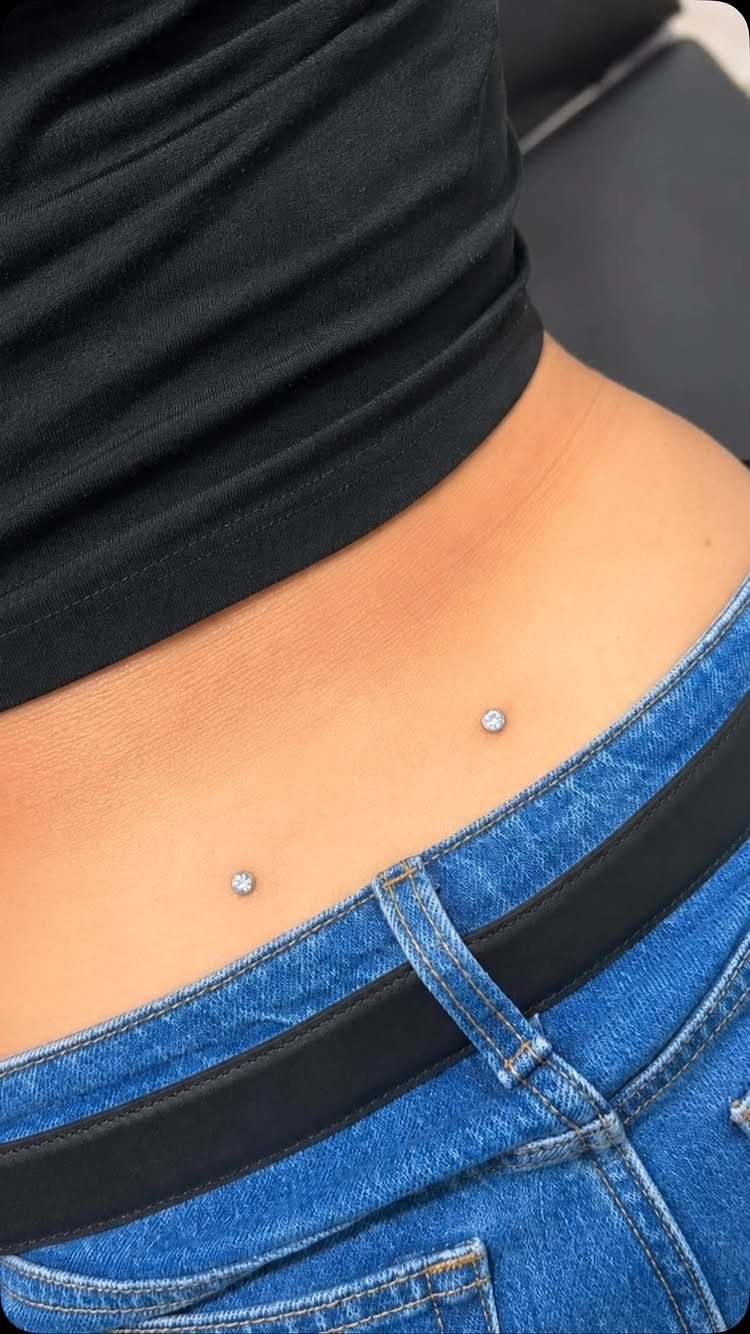
Crystal tops are the dressiest option for this piercing, and a matched pair catches light in both dimples at once.
Against a black top and blue jeans, the sparkle is the only bright detail, so it reads clearly without any other jewelry.
Pick 2 crystals of the same size, cut and color.
Side by side, any difference in shine or diameter is easy to spot. Clear stones go with nearly everything.
Since the top screws onto the anchor, you can start with plain metal while the piercings heal and add crystals afterward. Have your piercer do the first swap.
Crystals catch on fabric more than smooth tops do, so keep them away from rough waistbands.
Signs of Infection
A little crust and puffiness around the top of the jewelry is normal during the first 1–2 weeks, so don’t panic over it.
Trouble looks different: yellow or green discharge, skin that feels warm to the touch, redness that keeps spreading, or intense discomfort.
A bad smell, fever, body aches or flu-like symptoms also point to infection, and any of those is a reason to call your piercer or a doctor.
Rejection is a separate problem, and it shows in the jewelry itself.
Watch for a hole that keeps widening, a top that has shifted out of position, hardened skin building up around it, or a top that hangs loose instead of sitting flat.
Watch the anchor itself: if it seems to be creeping up toward the surface of the skin, have a piercer look at it soon.
I would not pull the jewelry out yourself, since that can trap the problem under the skin.
Choosing a Piercer
A dermal means a small cut and an anchor placed under the skin, so the room has to be clean before anything else.
Ask to see how the piercer sets up, and walk out if the space or the process looks careless.
Your own habits count too. Poor hygiene can bring serious bacterial or fungal infections and slow healing.
After the piercing, keep products with harsh chemicals off the wound.
Clean it with plain saline only, then keep it dry. I would also ask the piercer to walk you through that routine before you leave, so you are not guessing at home.
Jewelry Materials
Professional piercing groups advise using only high-grade metal for dermals, because it cuts the odds of an allergic reaction or the body pushing the jewelry out.
Find out what metal the anchor is made of when you first talk to your piercer.
Titanium costs more than steel but is nickel-free and hypoallergenic, so it is my pick if you have sensitive skin or a nickel allergy.
Niobium is a mild option that doesn’t corrode, and many people with sensitive skin tolerate it well.
Steel is the cheaper option you will see offered at some shops, but its nickel content makes it a poor match for anything that sits under the skin.
Gold works if it is real gold, not plated, because plating can peel and expose nickel underneath. If you choose gold, keep it to 18 karat or lower; anything purer is too soft to hold up as a dermal.
Frequently Asked Questions
What are the lower back dimples?
Those 2 small hollows sit just above the buttocks, right over the pelvis, and the old nickname for them is dimples of Venus.
People tend to link them with beauty, which is part of why they became a popular spot for a matched pair of dermal piercings.
How painful is a back dimple piercing?
Expect medium to high pain, though it depends on your own tolerance, and many people describe it as very painful but brief.
Skill at the chair changes the experience a lot, and I’d steer you toward a dermal punch over a needle, which tends to hurt more.
A good night of sleep, plenty of water and a real meal an hour or two before your appointment all make the session easier to sit through.
How is a back dermal piercing removed?
A professional piercer or a doctor should remove it, never you at home.
Please don’t yank it out at home; a piece of the anchor can stay behind under the skin. Given a few years, your body may also work the anchor up and out without any help.
Are back dermals worth it?
Yes, if you like a small, quiet accent that lets the dimples do the talking. The costs are real: a pair means 2 piercings to heal, and the lower back rubs against waistbands, belts and sheets.